Friday, December 21, 2018

Engine out

Hi Y'all,

The engine is out and I'll let the pictures do the talking....
Had to remove as much stuff from the front of the engine to get the space necessary to bring the engine forward and past the tabs for the reaction plate at the back.


The engine is free of the car but the hardest part is working the engine back and forth, up and down to get it past the front frame rail


Down and out


Well that's it for today, with the Holidays coming probably won't do much again until after the new year.

Happy Holidays to you all and thanks for your interest!
Cheers,
Lynn


4 hrs

Thursday, December 20, 2018

Removing the engine, part 3

Salutations Friends! 

Continuing the process of removing parts and pieces from the engine to facilitate dropping it out.  I might have been able to do it today but the boss who is much wiser than me said "Nope!  You need to be fresh so wait till tomorrow!".

Tomorrow's plan:
1) Set up the engine hoist and get it in position
2) Remove the crankshaft pulley
3) Place the floor jack under the transmission and remove the 5 bolts that hold the transmission mounting plate to the frame
4) Raise the engine slightly with the engine hoist, remove the engine mounts from the chassis and engine
5) Raise the engine about 3 inches and pull the engine forwards enough to clear the 'torsion bar tabs'
6) Cuss a fair amount when the engine won't clear the frames till it magically drops out like the manual says it should.
7) Roll the engine out into the light of day-Yeah!

Well, that's the plan, we'll see if it's close.

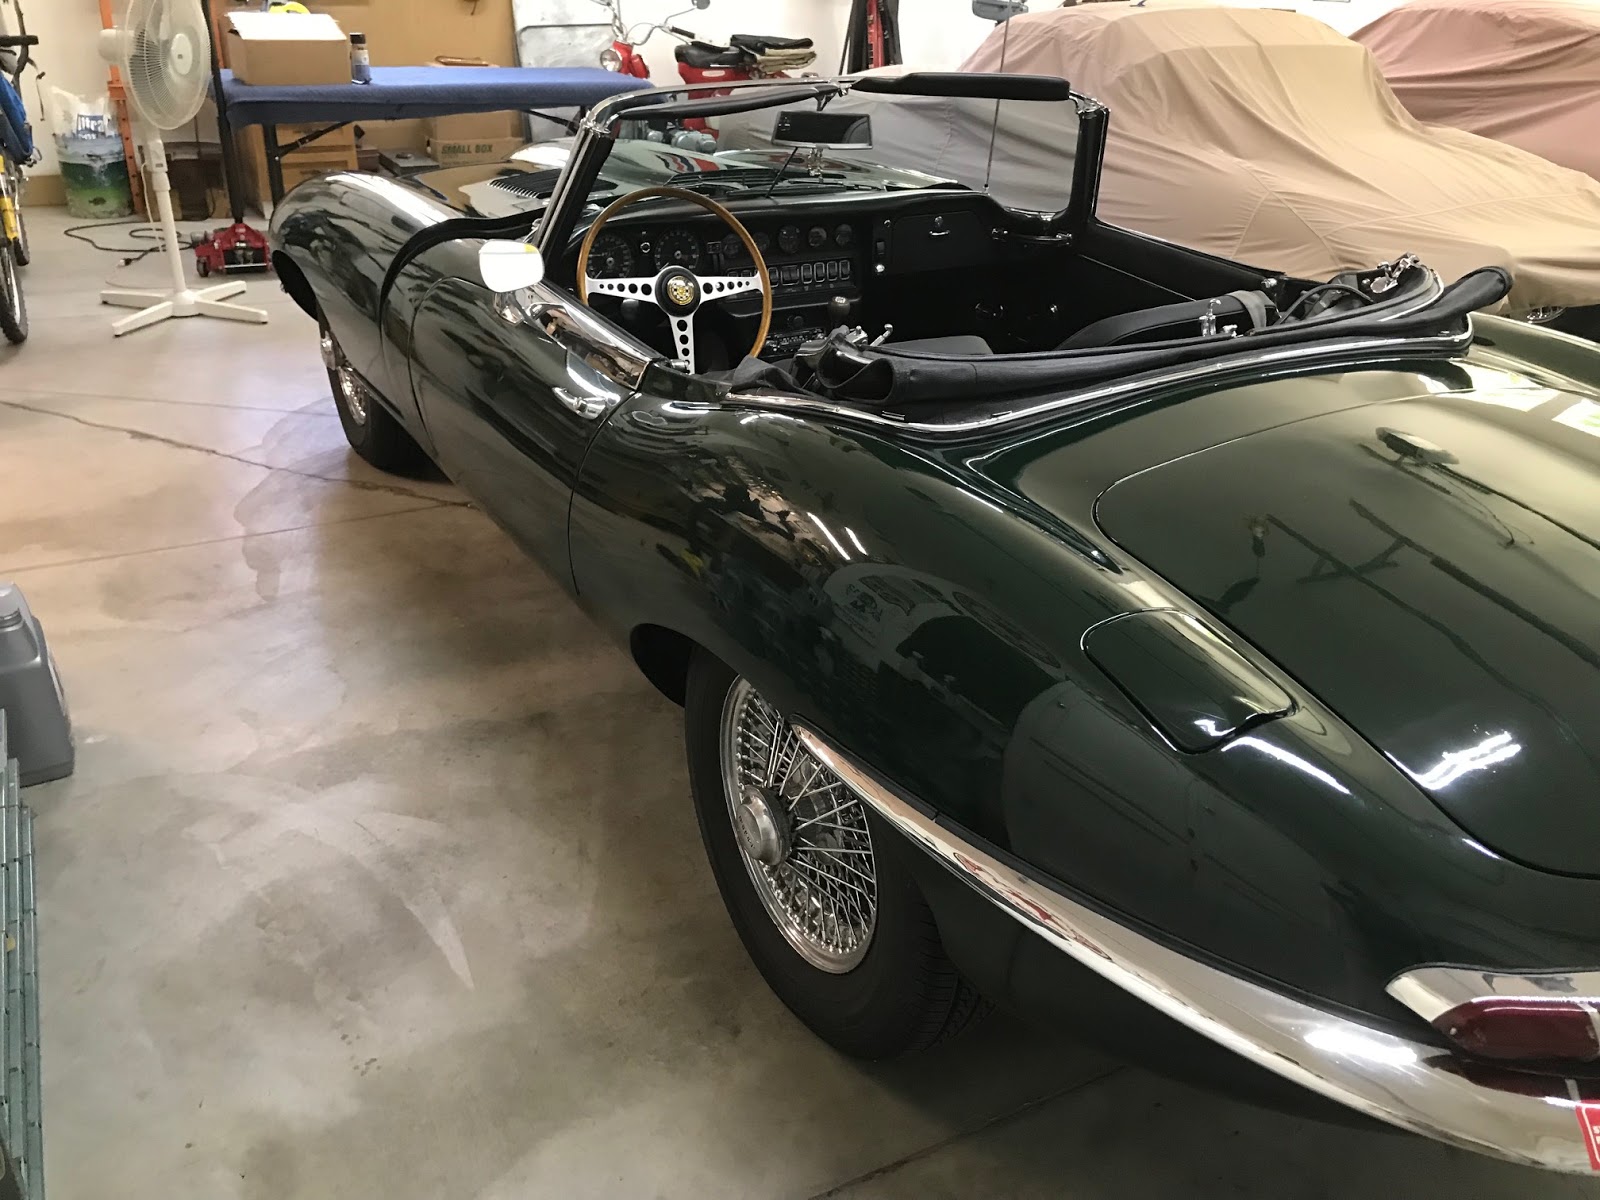
Had to pull out the interior to get to the gear box so I could release the driveshaft from the transmission.

Releasing the ball joints on the suspension so that the torsion bars could be freed from the torque plate that goes across under the engine.  There's a lot of force on the torsion bars and it could be quite dangerous if it came loose in an uncontrolled fashion-not good!

Passenger side 

Drivers side 
Well that's it for today, I'm going to need some guidance from Jennifer pretty soon with regards of how to proceed with the engine.  I'll try to offer her some options each of which has advantages and disadvantages-stay tuned for tomorrows exciting conclusion!

Cheers,
Lynn

5.5 hrs


Wednesday, December 19, 2018

Pulling ancillary's preparing for dropping the engine

Greetings!  Today was spent pulling parts off the engine.
1) Intake manifold and carbs-what a PITA to get at the nuts on the under side.
2) Water pump and pulley- can't get to the water pump bolts without removing the pulley
3) Alternator
4) Oil filter, and mounting housing
5) distributor and ignition harness (engine set on TDC)
6) coolant hoses attached to related parts

I spent a fair amount of time trying to loosen the upper starter mounting bolt, very frustrating and looks like I'll have to try to get at it from the transmission tunnel-yuck!

Tomorrow I'll be pulling out the interior which will allow me to get the transmission tunnel off and access to the drive shaft bolts.
Parts and pieces pulled off today, wish it looked more impressive!


Well, that's it for today.
Cheers,
Lynn

6.5 hrs

Tuesday, December 18, 2018

Removing the bonnet and exhaust system

Hi Fellow Jaguar Lovers!   Having moved cars around so I could start the project of replacing the clutch on Jennifer's car yesterday, today I was able to get started.   I thought I share a pictorial of how to remove the bonnet safely as a one man operation.  

I've learned that the easiest way to remove the bonnet is to prop it up against the wall, sounds pretty easy and in some ways it is but there is always just a touch of anxiety and fear that you'll damage someone else's bonnet heaven forbid!

The ramps are about 3 3/4" high and long enough that I can roll the car up to the wall.


The car is about 44" from the wall, I've put some pads under the front to protect the bumper guards that the bonnet will rest on.

The bonnet spring mechanism and the license plate bracket have been released from frame and the bonnet  plug removed from the bonnet

Protective pads and straps in place, preparing to bring the bonnet up against the wall.

Removing the bolts and the bronze bushing, note that the car raises up just a bit when the weight is taken off the car, when reinstalling the bonnet I'll deflate the tires just a bit to get them to line up.

Separated from the bonnet


Bonnet supported against the wall

The first step in removing the engine requires removal of the exhaust system,  on a 50 yr. old car it's always a challenge as everything is corroded together.


An area of concern,  both sides of the block have had staining from leaking coolant-not good!

Removing the old exhausted exhaust system

Another view of the coolant staining after removal of the exhaust headers
We're going to have to make some hard decisions pretty soon, I was thinking that we wouldn't have to open the engine but the coolant leaking from both sides of the block suggest that the head gasket is leaking.  If that proves to be the case then at a minimum we'll have to pull the head and replace the gasket, if we do that we may want to have the head rebuilt so we are likely to be seeing some significant 'mission' creep both in time and money.

That's it for today,

Cheers,
Lynn

6.5 hrs

Sunday, December 16, 2018

Replacing the clutch

It's been awhile since the last post but Jennifer has been driving 'CD' this summer and now it's time to address some things that we didn't last time.  I asked Jennifer if there were any issues and the only thing she mentioned was that the clock wasn't keep time.  Dang, I sent that off to have it reworked so it should work!  I'm hoping  it the battery and I won't have to send it back to Mike Eck.

If you recall, when I replaced the clutch hydraulics last spring the clutch was so far gone that I had to adjust all the play out of it, a short term 'fix' that allowed Jennifer to enjoy her car this summer.  Now's time to replace the clutch and take care of a few other things along the way.

Replacing a clutch on an E Type is a big undertaking as the engine and transmission have to be removed from the car which means the bonnet has to come off as well.  Over the next couple of weeks I'll chronicle this process.  One of the first things to do is a compression test to get a feel for the health of the engine
I would have liked to see higher readings but they are within 10% of each other on both sets (typically if the pressure goes up with a couple of teaspoons of oil it suggests that the rings are worn).  I'll have to think on this but part of me thinks leave well enough alone....

The plugs looked pretty good too
So, tomorrow I'll have to move cars around and I'll remove the bonnet weather permitting.

Cheers,
Lynn

1.5 hrs


Thursday, July 26, 2018

"She's Gone"

Ok, cue Hall & Oaks "She's Gone" (https://www.youtube.com/watch?v=bnVXIUyshng)
What a pleasure it was working on Jennifer's car,  she said it felt like Christmas when she looked at her car for the first time, needless to say Jan and I were tickled!

Who brings their mechanic a gift?  Thank you Jennifer!

Well folks, that's all till we get a new project, what a treat to work on this fine car for a very special Lady!
Cheers,
Lynn

Thursday, July 19, 2018

Time to go

After a little bit of 'gnashing'  'CD' (JJ)  got her front end aligned, and she's fueled up with premium ethanol free gas!  Took her to Commercial Tire this morning and they were very helpful then Jan and I drove her into Eagle for gas, then back home all the while watching to see how she did in the heat.
She ran great and showed no tendency to overheat.


Cheers,
Lynn

Wednesday, July 18, 2018

"That's All Folks"

Tomorrow I'll be taking 'CD' (JJ) into the local tire shop for alignment,  the new Coolcat 'otter' switch is installed and worked great.  Test drive today showed no evidence of overheating and it was pretty warm out there.  I took the old switch apart and tried to fix it, I'll see if I have any pictures of it but I'm not sure I'd trust it anyways.  The car ran well again today on it's test drive, I'm hoping that I can get it back to Jennifer this weekend.
Inside the 'Otter' switch.  this one had come apart where the bimetallic plate came loose from the base

I soldered the bi-metallic plate to the base, it was spot welded form the manufacturer but the welds had failed and the plate was loose in the housing.  I tested the switch after I soldered it and it seemed to work but I don't think I'd trust it.


Jan helped me shine JJ up, lot's of oxidation but she really responded to a little TLC IMHO


It will probably be awhile till 'CD' returns to my garage, given the clutch holds up for the summer which is a big concern.  I was checking the new SS exhaust system that we received this week only to find that the resonators were for a latter car.  One runs into this sort of problem regularly with the '58 being a transition year and one just has to be aware of this potential problem.  I emailed Will at SNG and he'll take care of it for us.  Next time around we'll work on the IRS, drive line and possibly the clutch, that will be a good time to install the new SS exhaust system.

Cheers,

Lynn


0 hrs

Monday, July 16, 2018

Wrapping it up, at least for a little while.

No photos today, sorry about that!  Today with Jan's help set the ignition timing back from 36 degrees BTDC @3.5K RPM to 30 degrees BTDC @ 3.5K RPM and then took it out for another test drive.  It ran really well and had just a little bit of pinging with lugging it a bit going up hill.  I think that will be tremendous improvement in how the car drives.  The ambient temperature was over 90F and the car showed no tendency to over heat :-)

Tomorrow I'll install the new otter switch (turns the cooling fans on and off) tomorrow and then get the front wheels aligned on Thursday.   After that I'll let CD ('JJ') head back home till this fall when we will delve into a few of the other issues i.e. the rear suspension and maybe the clutch.   Sadly the clutch is a big deal as the clutch can only be replaced by pulling the engine and transmission out together.

That's all for today,
Cheers,

Lynn

1 hr

Friday, July 13, 2018

Test drive

Evening Folks,

Started out this morning cleaning the front wheels with their years of accumulated grime and dirt.  I just couldn't put them on the car with all that crap on them.
This is after the first washing ;-)

A little better


After I cleaned and installed the wheels CD was back on all fours and ready to roll, or so I thought.  What I didn't expect was that she wouldn't go in gear!  Well back up in the air with her and I readjusted all the play out of the linkage and low and behold it worked.  Well, that's good news bad news as it means that the clutch and throw out bearing are at the end of their useful lifespan. Sadly, replacing the clutch on these cars is an engine out operation and not for the faint of heart, then there's the while we're at it phenomena.

Enough of that, I took CD out for a test drive and even with the front end needing alignment she ran well and tracked well with the steering wheel centered-yeah!  That being said I noticed the oil pressure dropping as I drove and settled out at 20 psi, not good! So time to turn around.  I suspect that the oil sender has bitten the dust so will check with a direct reading gauge (I'll just pull the one off my car and check).  Aside from that the engine sounded good except that it pings somewhat, I'll check the timing on it.  This year Jaguar had a lot of emission related changes and one of them was a 20 degree distributor which often results in the engine being way too advanced causing it to 'ping/detonate'.  Detonation is no laughing matter as it can damage the engine so we need to fix that!
The other thing I noticed was the difference between our cars, I had forgotten how many little modifications that I've made to Shawnee B A to allow me to drive her comfortably.  If CD were mine the sun visors would be the first thing to go ;-)

Till next week,

"That's All Folks"


Cheers,
Lynn


2 hrs


Thursday, July 12, 2018

Nearing the end....rear shocks and bleeding the brakes

Time to bleed the brakes, since the front rear shock absorber has to be removed to get at the brake calipers it seemed like a very good time to replace the shocks.  The shocks were definitely beyond their "use by date".  They were leaking have almost no resistance to moving them up and down.

I'm coming to the end of 'phase' one on "CD" (JJ:-) but after an 8 hour day had to stop before I could get her back on the ground.  While it was up in the air I greased all the grease points, checked the differential (not going to change the fluid till I drop the IRS next time).


"CD" getting her tail end checked out ;-)

Installing the springs on the new shocks, this car has 4 shocks on the rear suspension.

A couple of the old shocks, if you look closely you can see how they are oil stained from leaking

Nice clean new shock on the bottom, they all have a spring on them and have to be carefully removed since they have a lot of 'kinetic' energy.

This caliper was problematic when I started to bleed the brakes, it wouldn't bleed!  I checked down stream and there was fluid there so I took out the bleed valve, still no flow, turns out the 'bb' was stuck and after some probing with a pick was able to get it to work and completed the process of bleeding the brakes.

Brake reservoirs filled up and wired up.

Got the rear wheels on and tightened up the shock mounts, noticed when putting the wheels back on that the bump stops are very close to the new tires. Will have to check to make sure they don't rub when the car is on the ground.

Well, Jan say's dinners ready....

"That's All Folks"

Cheers,
Lynn


8 hrs