Tuesday, January 22, 2019

Installed the head today

Received the head gasket today so time to start reassembly.
Cleaned up all the studs for the head, as you can see there are three different sizes, the longer ones on the right are for the lifting brackets and the short ones are for the timing chain cover-head interface.

New cometic head gasket, it looks slightly different than the old one but a quick check on Jag Lovers Forum reassured me that this one would work.

Installed the cleaned studs in the block and sealed the ends that thread into the block where they enter the water passages.

The head gasket in place

Setting the head down on the block

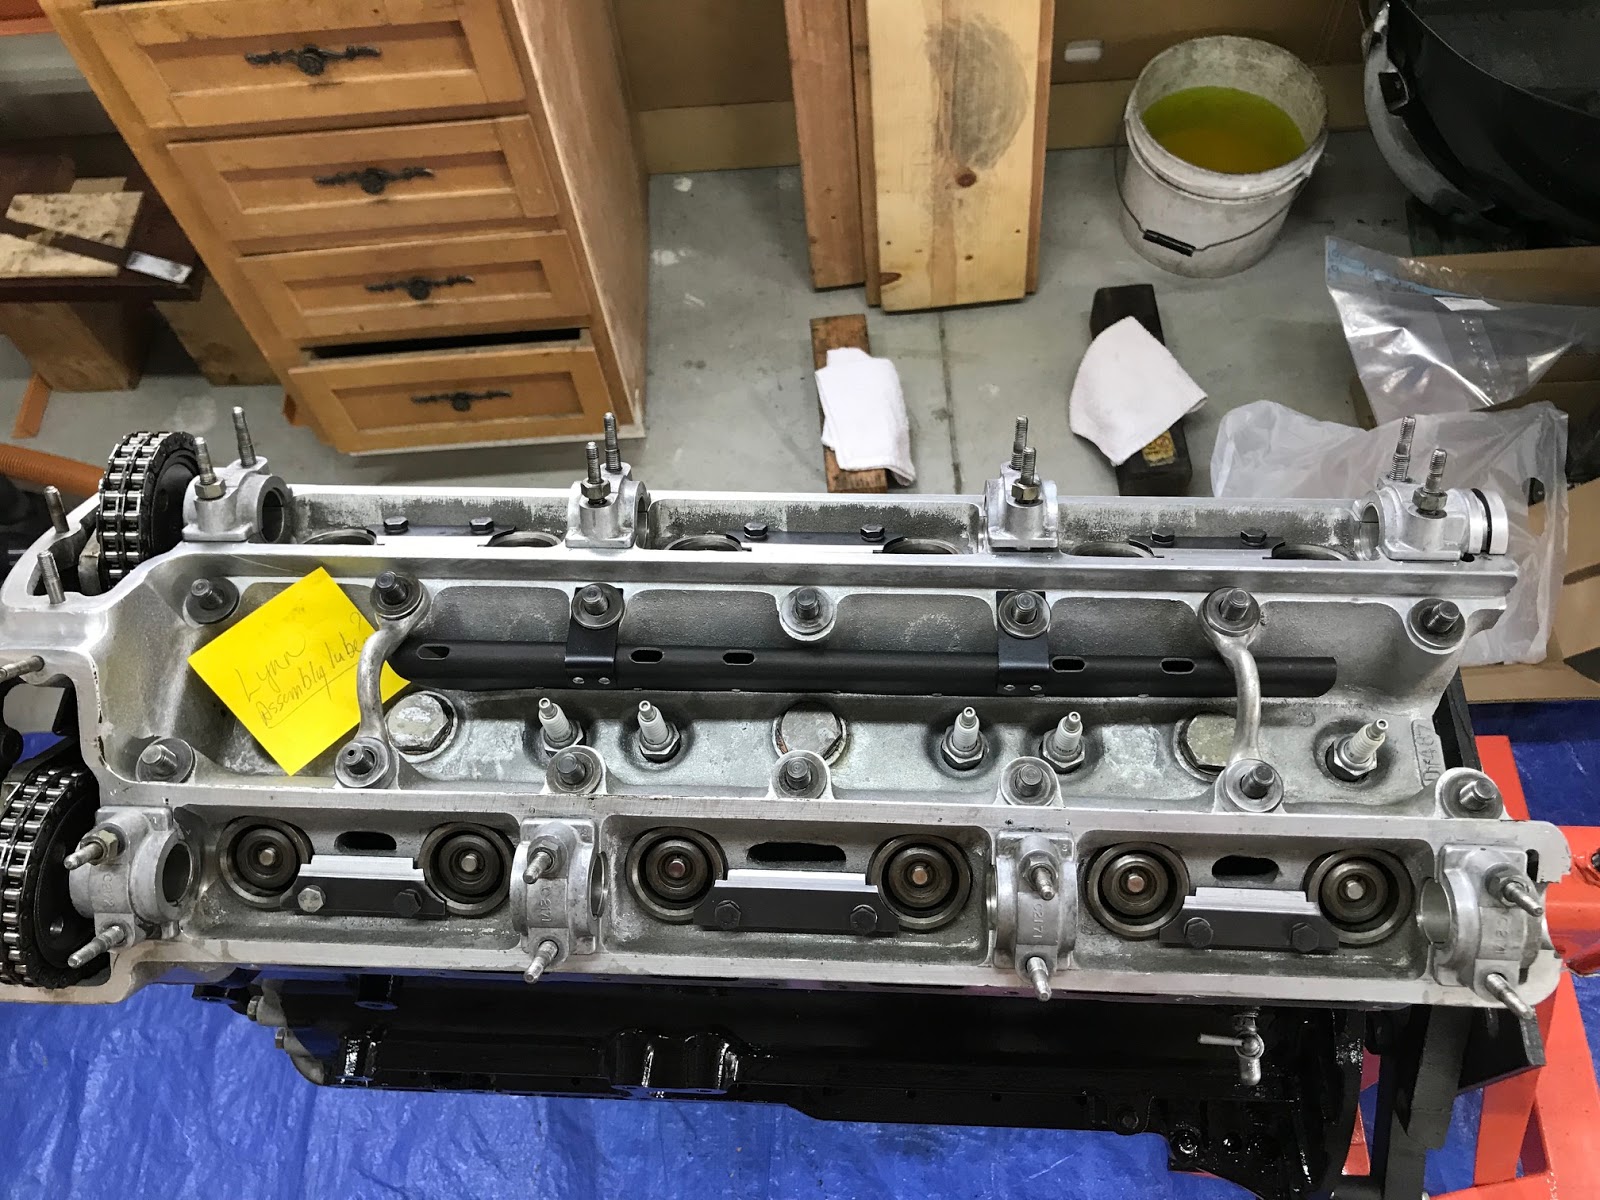
The head and block reunited!
The head nuts were tightened stepwise and sequentially to 54 ft/lbs and 15 ft/lbs for the head/timing cover nuts.  These studs are on the front of the engine and as two of them enter the timing chain area the threads were coated with sealant too.
Tomorrow I plan on reseting the cams, this reminds me to give a shout out to Bob F. who found some shims that I need for setting the valve tappets clearance-Thanks Bob!

That's all folks,
Cheers,
Lynn


6 hrs

Monday, January 21, 2019

Refurbishing Alternator and cleaning up the carbs/intake manifold

Evening folks,

I'll start with my favorite thing-cleaning parts. Not!

Pretty nasty, used oven cleaner to get the baked on stuff loose/


Dirty carb pistons

Clean carb pistons


Cam covers after a little cleaning.


Thought I'd discuss how to refurbish the Lucas Alternator,  this one was working fine electrically but spinning the pulley made it squeak so I thought the bearings were dry. The first step is to remove the nut that holds the pulley/fan on the shaft, this is easily accomplished if you have an impact wrench, once the nut is off a gear puller will likely be needed to pull the pulley off the shaft. once the fan is out of the way you can access the heads of the fasteners with a modified screw driver.
This was a tool I had made to disassemble the case


Three 'screws' than have been pinned over at the end


The case will come apart pretty easily, watch carefully for spacers and washers that may fall out, this is looking down into the case at the diodes and brushes.  Jennifer's brushes had a lot of life left in them so will leave them alone. At the center there is a needle bearing and in this one the bearing was dry with old grease dried around the rim.

The armature has to be pressed out of the end of the case, be careful here as the bearing is mounted in the end and this piece seems somewhat fragile.

The brushes ride on this piece and I cleaned it with electronic cleaner

The parts, at the bottom is the second dry bearing,  remove the cover that you can see with one of three screws removed.  I chose not to remove the bearing from the carrier as I think it would have damaged the bearing and it can be cleaned easily in situ.

Back together, make sure it's 'clocked' correctly, previous pictures help here.

Hopefully a lot more life left in this little alternator.


Cheers,
Lynn

5.5 hrs

Friday, January 18, 2019

Tappet guide hold downs and 'freeze out plug' replacements

Evening You All,
Today I installed the tappet guide hold downs and sweated it the whole time.  I't a pretty important up grade IMHO that can save an engine.  One weak spot in the head design was that the tappet guides could come loose over time/overheating and start working their way up, when they do the cam starts hitting them and if not caught quickly destroy the cams and damage the head.  Not a good situation for sure.  There are several ways to make sure this never happens and one way is to install hold down plates, pretty simple but does require drilling and tapping holes for the bolts that are required.  It's a bit nerve wracking but it turned out OK.
Here's the plate at the top of the two tappet guides, I'll need to drill two hole perpendicular to that surface then tap the hole with threads for the necessary bolts.

Holes are drilled on the exhaust side, started with a pilot hole then went to the correct bit for the 1/4" 18TPI threaded bolt

Drill bit, Tap and bolts

Carefully tapping the drilled hole (3/16 bit)


Plate installed, bolts coated with sealant and torqued to 60 in/lbs.  Sealant was necessary IMO since the holes do enter the water passage below.
 Ok, on to the next task,  There had been some coolant leakage from this freeze out plug* so it was time to remove the old one, clean out the opening and replace with a new one.  The new one is a friction fit concave disk that you install with JB weld then Hit the dome of the concave dick which then fits pretty tight (I hope ;-)


Since I was replacing the one freeze out plug I thought it wise to get rid of the rest of the old ones.  The ones on the block are, on a 4.2, little cups that have to be driven in after coating the mating surface with JB Weld.  The openings have to be pretty clean before this is done so it's a little PITA to get it prepared then using a large socket and a BFH they are driven into place.


Freeze out plugs on the exhaust side where we had the most evidence of leakage.

Well that's it for this week. Waiting for the head gasket and flywheel to be resurfaced/balanced.
Cheers,
Lynn

*technically  they are casting plugs but somewhere along the way they got the name in the US of 'freeze out plugs'.


6 hrs

Thursday, January 17, 2019

Transmission seal replacement

Evening,
After cleaning the layers of grease and dirt out of the bellhousing I proceeded to replace the seals on the input shaft and the output flange.  I had to make a gasket for the seal carrier for the output flange then removed the speedometer drive to replace the 'O' ring and seal for the speedometer drive shaft.
Hopefully this will ensure that the transmission remains leak free for years to come, (Oh Sure-it's British, Dream on!)

Why spend so much time cleaning?  It's to keep crap out of the innards when your replacing the seals.


Where the input seal goes, area cleaned up and seal outer edge coated with sealant then driven home

New throw out bearing, grease and clips that hold the bearing mount in place

The 'fork' that holds the throw out bearing

Throw out bearing in fork

Clip that holds the throwout bearing onto the fork

The housing that holds the rear transmission seal.  This was a bugger to get off, the screws were resistant to removal!  I broke my impact screw driver then I had to use a punch to loosen them.  After I got them out I ground the damage down, cleaned them up and reused them.  I'll see if I can find replacements but I suspect they are a 'specialty' fastener and will be hard to find.  This had to be removed to replace the seal which I replaced today and again sealed the seal against the housing.

This is speedometer drive and angle drive


All back together with new seals 
Well, that's it for today. Thanks for looking!

Cheers,
Lynn


7 hrs

Wednesday, January 16, 2019

Painting the Block with POR15

I decided to paint the block with POR15 engine paint as it has a reputation for standing up to the 'solvents' that we have under the bonnet on these cars, be it brake fluid, hot oil or antifreeze this stuff is supposed to withstand them.  I hope!  When I did my engine a couple years back I used the spray can engine paint and clear coat from my local FLAPS and while it looked sharp it came off just as soon as I had a coolant leak, this time I wanted something more durable.  It was a PITA to paint it as it is intended to be brushed on and in this case required 3 coats,  sadly there are drips, but hey! It's an engine block-deal with it ;-)


Cheers,
Lynn

1 hr

Tuesday, January 15, 2019

Motor Mounts and preparing the block for painting.

Evening Folks,

This afternoon I installed the new motor mounts and prepared the engine for paint.
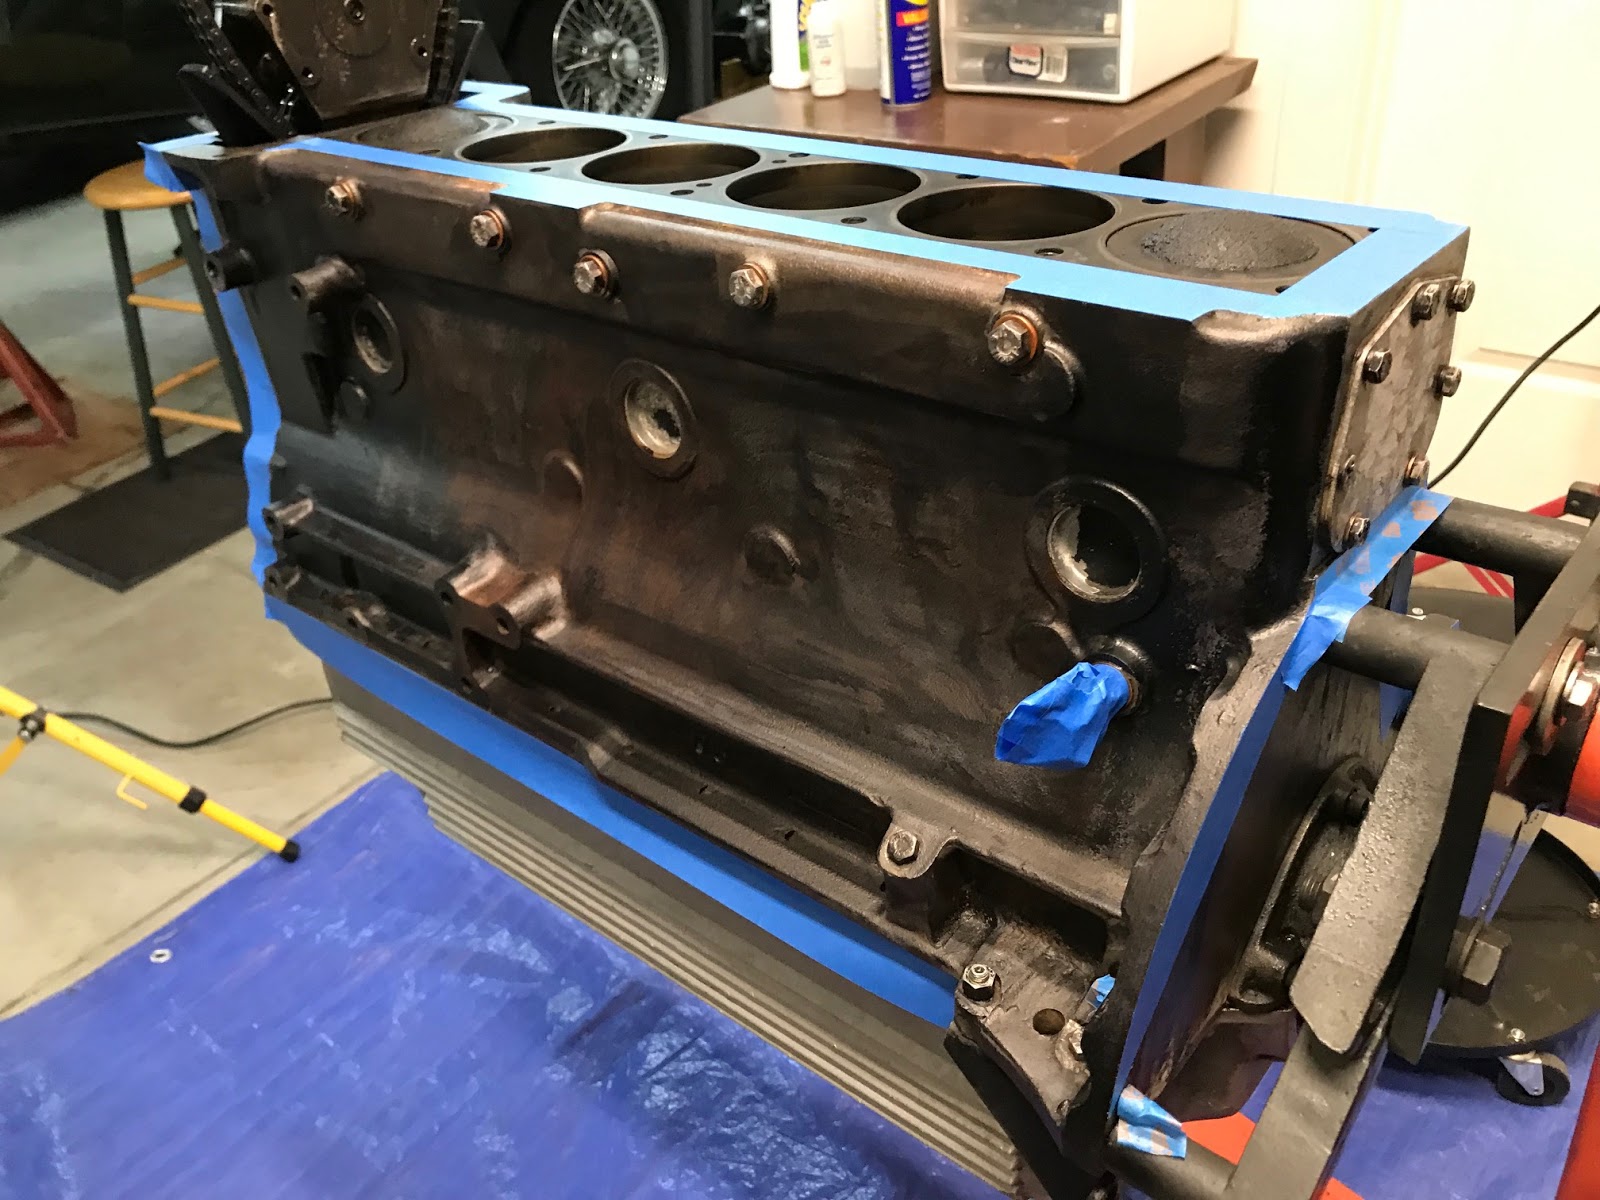
Received the POR15 engine paint today and will paint tomorrow.  The block is taped off and ready so tomorrow hope to have that task squared away.


That's all folks


Cheers,
Lynn

3 hrs